I don't cook a lot of beef. Honestly, I don't cook beef at all. I've spent most of my life not eating beef. One day when I was 7 my dad just stopped eating it, so my mom stopped cooking it and as a result I stopped as well. Recently over the past few years, I've picked it up again. Beef is really delicious. I don't think I could eat it every day but once a week is good.
Last night, I cooked ground beef. Yep. I sure did. I cooked it all by myself. Yay! Not really that hard... but if you've never cooked it before, it's ok to pat yourself on the back once in awhile. *pat pat pat*
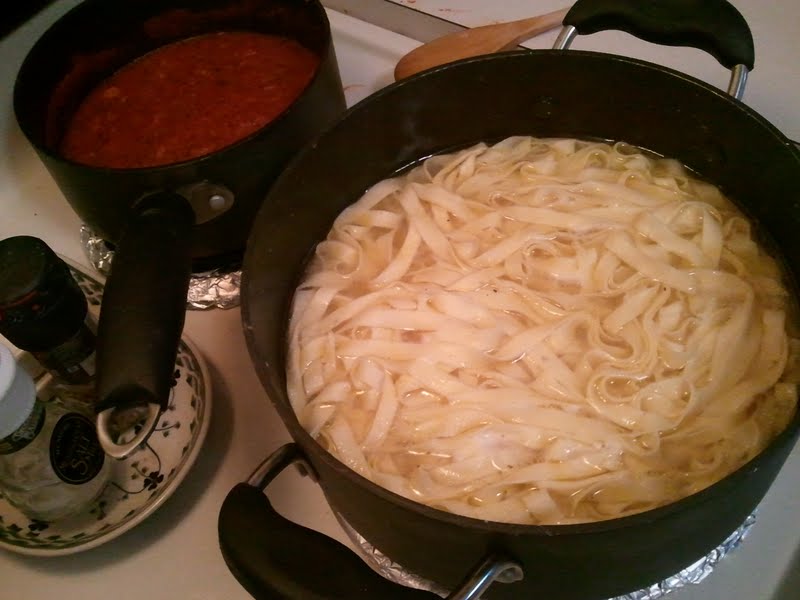
It was a very simple recipe - I had some polenta lying around that I had been iching to cook as well. I love polenta - it's so easy to cook! It comes in a wonder tube that you just slice open and cut up! Yum!
Polenta and Ground Beef Lasagna-Casserole-Thing! HA! I need a better name - suggestions welcome.
Here's there recipe - very simple, not too terrible for you either (always an added benefit.)
Ingredients:
1 Shallot - (or you could use a small onion)
5 Garlic cloves - diced
8 Baby carrots - diced (or 1 large carrot)
1/2 cup Peas
1 pound Lean-ground beef
2 tbsp Worcestershire sauce
1 14.5 oz can of diced tomatoes
1 18 oz tube of polenta - cut into 1/4-inch slices
1 cup cheese - shredded cheese
Steps:
1. Preheat oven to 350 degrees F
2. In a frying pan, on medium heat, plop a little olive oil and add in the shallots, peas, carros and garlic. 3. Let that get a little soft then add the meat.
4. Cook the meat till it's no longer pink and add in the Worcestershire sauce and tomatoes
5. Let that cook for about 10 minutes till the sauce reduces and thickens
6. In a pan - I used a 6 x 12ish pan? You could probably use a 8x8 as well - 9x13 may be a bit big... either way in a pan, put about half of the meat mixture on the bottom, a layer of polenta with a little cheese, then the rest of the meat and top with the rest of the polenta and cover that sucker with cheese!
7. I baked mine for about 25 minutes - I wanted the cheese to get a little crispy then I let it cook for about 10 - 15 minutes before serving.
Enjoy!