refrigerator magnets

refrigerator magnets

Friday, July 29, 2011

Meatball Subs

I had purchased some ground beef at the farmers market a few weeks ago and it was the perfect amount for a few meatballs! The meat was delicious from John Crow Farm. We had some steak tips from these guys and they once again prove to have very tasty meat.

The key (in my mind) to a successful meatball sandwich is 3 things.
1. Sauce. Not too much but not too little
2. Bread. The bread must be able to handle the meatballs. If it can't, your sandwich won't stay together.
3. (This one is the most important) The Meatballs! They can't be too big, but they can't be too small. Also, they can't be too dry otherwise it throws your sauce ratio off. 

I've been working on my meatball recipe a long time and this one is pretty close to perfect. I'd love your thoughts if you have any suggestions. 

Beef Meatballs for meatball subs
Ingredients:
1lb ground beef
1/4 cup breadcrumbs (I used panko-italian mixture)
2 cloves garlic - finely chopped
1/2 a small onion - finely chopped
1 egg
1/2 tsp onion powder
1/2 tsp oregano
1 tsp cumin
1/2 tsp thyme
Salt and pepper
Olive oil for the pan - enough to cover the bottom
Provolone cheese - 2 slices per sandwich
French bread - fresh, not too hard on the outside
Tomato sauce - just a few spoonfuls per sandwich

Steps:
Mix the spices, egg, meat, garlic, onion and breadcrumbs together in a bowl. Make sure it mixes together well otherwise your meatballs won't be spiced evenly. Take a wad of meat and roll a ball about an inch to a inch and a half in diameter. They will look small but they sit better in the bread and they cook faster. Plus they are easier to manage in the frying pan. I ended up with around 18 balls.
Once you've rolled all the meat up - heat up your frying pan. You want to add the balls one at a time to the pan and you're going to want to roll them around frequently so they don't over cook on one side. Based on the photo below - you don't want to fill up the pan any more than that otherwise they don't have room to move.
While the meatballs are cooking, prep your sandwichs and turn your oven on to around 350 degrees. Slice the bread so it's almost all the way through and plop your cheese in there evenly. I don't usually use the ends of the bread since its hard to take a bite into. BUT I do have a solution so you don't waste them... keep reading... I also added a little salt and pepper to the bread. Plop a spoonful of sauce on the bottom of the sandwich and spread it up the sides a little bit. 
Once the meatballs are done, add them to the sandwich and then top them off with a few dolups of sauce. At this point, I used our pizza stone and put the sandwiches directly on that into the oven. I left them in there to toast for about 5 - 10 minutes. While they are baking, remember how I mentioned I don't waste the bread? I yank out the middle of each of the ends, put a little drop of sauce and pop a meatball into each! Little bread bites. Yum.
At this point - you're now ready to eat! Happy sandwich making!

Tuesday, July 26, 2011

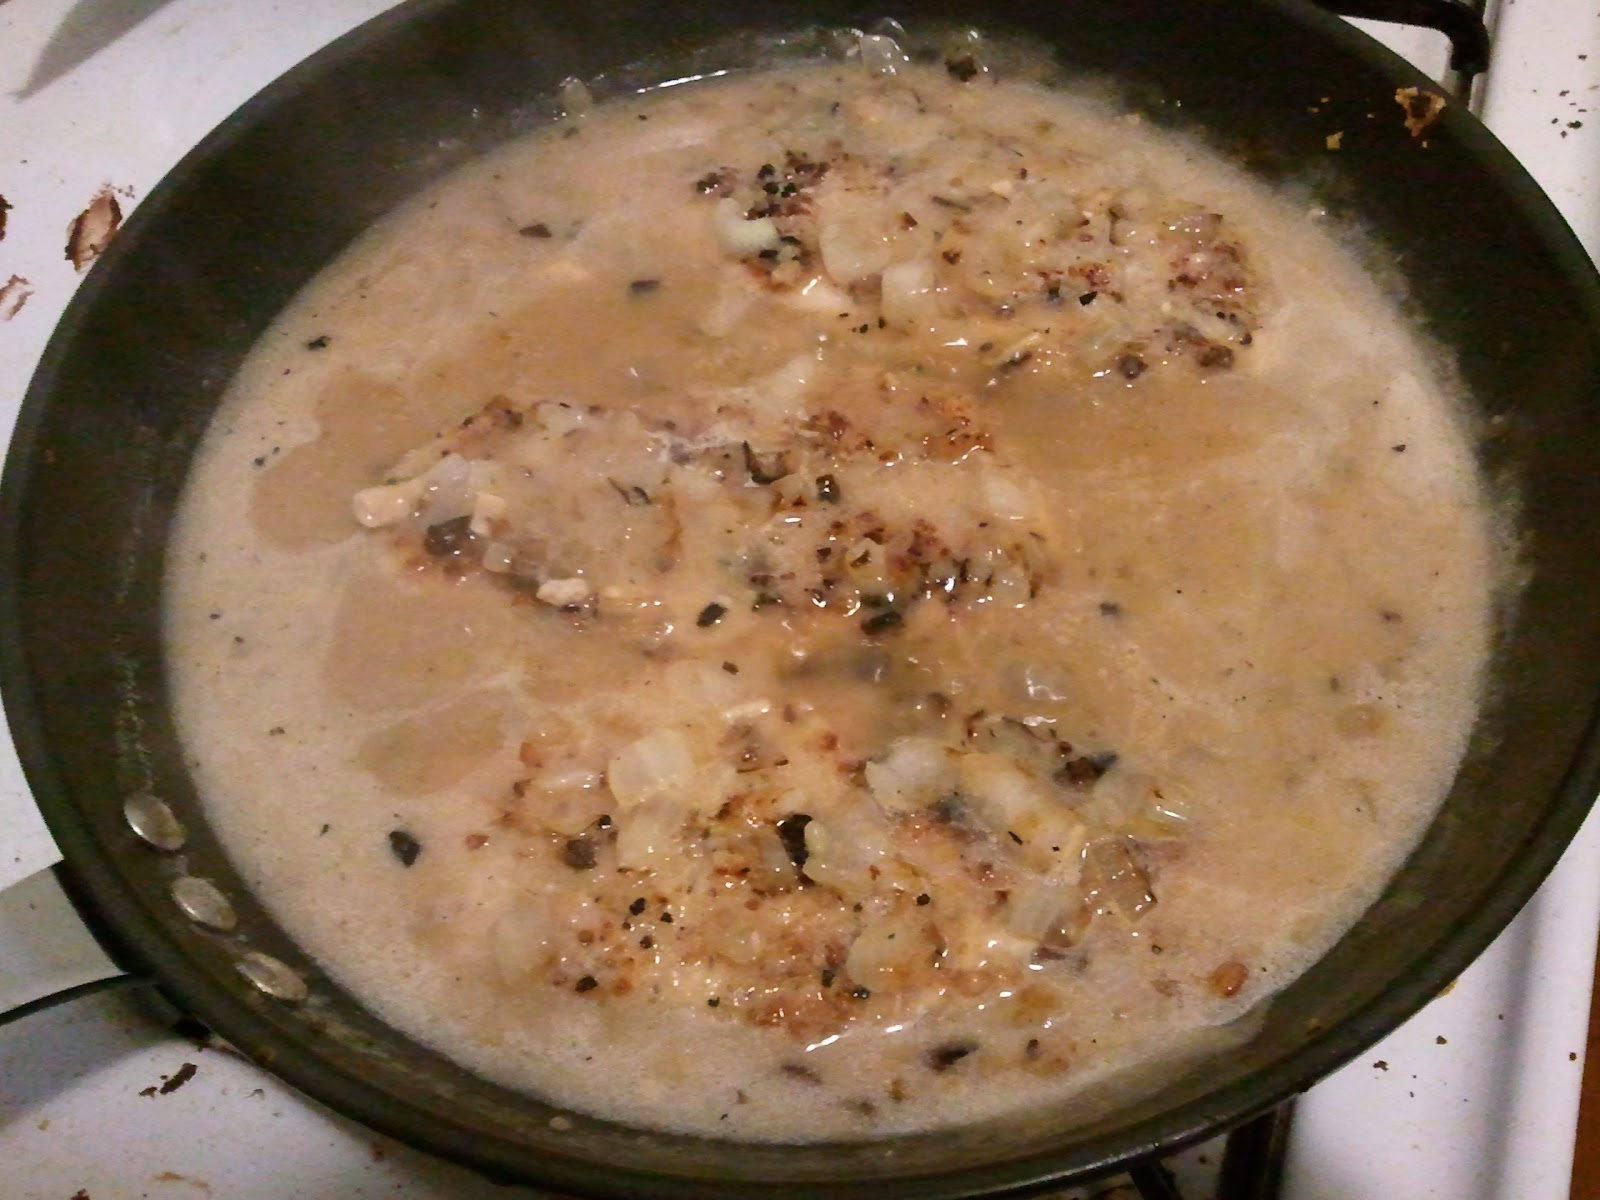
Turkey Scallopini with Gravy & a sad attempt at scalloped potatoes

Sometimes things work out great when you're cooking and sometimes they don't. I think it's just as important to share the failures as it is the successes when you're in the kitchen. I also think it's kinda funny when you screw it up so bad it's inedible... this is what happened last night. I wanted to make turkey scallopini and scalloped potatoes. Not too difficult. The turkey turned out FANTASTIC! Will certainly be a staple recipe in our house moving forward. The potatoes - not so much. Here's the story of my unsuccessful scalloped potato attempt.
I started out like the recipe said, slice the potatoes, layer them in the dish and add a little flour mixed with salt in peper. I also added some diced onions to give an extra added layer of flavor. Mistake #1 - potatoes are not sliced thin enough.
The potatoes are in the pan, ready to go and...I forgot to add any liquid to the potatoes before I popped them in the oven. Yep. Mistake #2 Uncooked sliced potatoes in a casserole dish with onions, butter and no liquid = very not tasty at all. It doesn't end up tasting like a baked potato (which once I realized this, is what I was hoping for) since they weren't russet potatoes, it ends up like a bunch of dry potato goo.
So to try and remedy the situation, I added milk and baked for another 30 minutes. It helped but not enough. So on a last ditch effort, Matt tried to mash them and add some spices and bake for a little longer. This may have worked but now it's around 9pm (2 hours after we ate the turkey) and neither one of us is that interested. Mistake #3 Don't mash scalloped potatoes. Needless to say, we've got a bunch of inedible potato goo hanging out in the trash can.
Oh well. If you have a good recipe for easy (and no heavy cream needed) recipe, please send it my way!

Now on to the success - Turkey Scallopini! So tasty and so super easy. For how bad the potatoes were, the turkey was so good.
Skillet Turkey Scallopini (or Chicken if you prefer)
Serves 2

Ingredients
:
  • 1/2 pound turkey breasts (or chicken breast) pounded thin
  • Bread crumbs (I used the panko ones)
  • 1/2 a medium sized onion, diced
  • 1/2 packet of turkey gravy powder
  • 1/4 stick of butter (optional)
  • 1 cup Chicken stock
  • 1/4 water
  • salt and pepper to season chicken
  • Olive oil for the pan
Steps:
1. Pound the chicken till its about 1/2 inch thick, dip it into the panko bread crumbs and season with salt and pepper. Set it aside.
2. Heat up your sauce pan with the oil and add the diced onions. Cook them till they are translucent and starting to caramelize. Move them out of the pan but not too far away, you'll need them again soon!
3. Add a bit more oil to your pan and place the turkey in. Don't touch it. Let it cook for at least 5 minutes so it starts to brown on the bottom. Then flip it over and don't touch it till it starts to brown again. Cook it until the meat is almost done.
4. Mix up the gravy on the site and pour over the meat, add the onions. And if its not thick enough, add the water.
5. Cook the meat and gravy till the meat is done. The gravy keeps the meet nice and juicy.
Serve that sucker up!

Another side anecdote
One of our kitchen cabinets never ever stays close (ghetto I know but you learn to live with it because you're too lazy to fix it) but last night I banged my head into it about 100 times so finally, I had to get it to stay closed... wah la! My genius invention - closed-door-ala-spoon!

Monday, July 25, 2011

Chicken a la King

It's been hot - we haven't been cooking. It's been too darn hot... until last night! YAY!

Matt and I were chatting this past weekend about dishes we loved as kids, what mom used to make and what we loved out of the "meal rotation." So that's where Chicken a la King came up. Matt has mentioned it a few times as a dish he loved and it sounded pretty easy so we gave his mom a call, got the recipe. We didn't eat this exact dish in my house but we did eat a few things that were very similar. It's very easy to make, not too terrible for you and you can substitute very easily based on what you have in the house and your tastes. You could swap out the peas for celery or carrots. I'm not sure peppers would be a good flavor but why not try!

Chicken a la King
This recipe is for 2 people

Ingredients:
  • 1 can of cream of chicken soup
  • 1 can of cream of mushroom soup
  • 1 cup of peas
  • 1 cup of chopped broccoli
  • 1/4 cup milk
  • 1/2 lb chicken breast or turkey breast (diced into large chunks)
  • Salt and pepper to taste
  • 1/2 package of No Yolks noodles - extra broad (or you could use rice as well)
  • 1/2 packet of turkey gravy (the dried stuff - this is optional)
  • 1 tsp of olive oil to cover the bottom of the pan

Steps:
  1. Dice up your chicken/turkey and your veggies so they are ready to be added
  2. In a large sauce pan, add the olive oil to cover the bottom. Season the meat a little and then plop the meat into the hot pan. Add in the soups one at a time, then the peas, broccoli, gravy and lastly the milk. 
  3. Once everything is mixed together, let it simmer for 30 min or until the meat is cooked. In the meantime, cook up those noodles!
  4. After abou 30/45 min, take a quick taste and make sure it doesn't need any additional seasoning.
  5. Serve the mixture over the noodles and enjoy!

Thursday, June 30, 2011

Tasty Photo Alert - General Tso's Chicken

Matt made dinner. How tasty does that look! Next time we're going to add pineapple and brocoli. Yum! I was curious to find out why they call it General Tso's Chicken and who the general it - according to wikipedia no one knows where the dish came from, or why it was named after the general. Oh well. It's still tasty. 

Once Matt prefects his recipe, he'll need to share but right now I wanted to share the tastiness of this photo.

Stove-top General Tso's Chicken with white rice:

Monday, June 27, 2011

Easy Chicken Enchiladas

Hola! It's enchilada time! We needed a quick and filling dinner recipe and enchiladas are easy and delicious so they fit the bill. Plus we had all the ingredients in the house so... wahhhla! Dinner! Here's my quick and easy recipe. Feel free to share yours! Would love to know how you tweak them differently. Not the greatest photos this time around but you get the picture... either way, it's tasty.

Super duper easy. Ready? Get set... GO!

Super Duper Easy Baked Enchiladas
  • 1/2 lb chicken - diced
  • 1 tsp cumin
  • 1 tsp onion powder
  • salt and pepper to season chicken
  • 1 tablespoon vegetable oil
  • 1 cup (or small can) of green chilies
  • 1 small can of refried beans - fat free
  • 2 cups enchilada sauce
  • 4 tortillas - 8 inch size - flour or corn which ever is your preference
  • 1/2 cup cheese
STEPS:
  1. Dice up the chicken and season it with the spices
  2. Heat up the oil in the pan and saute the chicken till its almost done
  3. Add the green chilies and sautee for another 2 minutes
  4. Add the refried beans and mix till heated. Remove from heat.
  5. Take an 9x9 pan that you can bake and coat the bottom of the pan with enchilada sauce
  6. Take one tortilla and on one side of the pan - fill with a few good spoonfuls of filling and fold over, then on to the next tortilla - we usually make about four and then use the rest of the filling to pour over the top. Then pour the rest of the sauce over the top and sides and top with cheese.
  7. Bake for about 30-40 minutes at 350degrees.
  8. Serve those suckers up!

Thursday, June 23, 2011

Chocolate Explosion Cupcakes

Poof! You've just experienced the chocolate explosion cupcake. Made from chocolate cake recipe mixed with chocolate pudding. It's glorious. Fills any chocolate craving you may have. We had a craving. So cupcakes. AND we got skull cupcake holders. I know, you're super duper jealous. Neener neener.

I do have to come clean, I didn't make the frosting. I hate making frosting so I bought the chocolate fudge kind. But honestly - the cupcakes don't need it. I like a really moist light cake, none of that dense dry crap.  These are just that, very moist, very light that they almost fall apart in your hand.

Chocolate Explosion Cupcakes
2 cups all purpose flour
2 cups sugar
1/2 teaspoon baking powder
1 teaspoon salt
1 teaspoon baking soda
1 package of instant chocolate pudding - made with 1 1/4 cup cold milk
3/4 cup water
2 large eggs
3/4 cup milk
1 teaspoon vanilla
4 ounces melted unsweetened  baking chocolate

Mix it all together - yeah, I know you're porbably not supposed to do it that way but I did. Mix it really good and then pour it into fantastic cupcake holders. Pop that into a 350 degree oven for about 20 - 25 minutes or until a toothpick comes out clean.
Once they pop out of the oven - they will fall a little bit - that's ok. Make sure you let them cool before you frost.
This is what is gonna happen when you make these cupcakes - all you'll have left over is a bunch of empty skull wrappers.

Wednesday, June 15, 2011

Quick Trip to Philadelphia

I know I normally post only recipes and experiences related to those recipes on this blog but I'm going to branch out a little bit. I mean, it's my blog. I can say whatever I want. So get over it.
Recently I went to Philadelphia for a conference for work. Great great city and I hit up the Reading Terminal Market. This place is great! It's very similar to Quincy Market we have here in Boston.

I marched around the entire market a few times and finally settled on 2 things:

1. PIEROGIES
I stopped into Franks Hot Dogs stand - yeah, I know, why didn't I get a hot dog is what you might be asking but honestly, they didn't look that appetizing to me... little doughy pockets filled with potato were much more appealing. I'm in LOVE with these little suckers. I have to make them. My friend Katie who runs The Small Boston Kitchen (check out her blog, it's great!) has a fantastic recipe here that I'm itching to try now.

2. JAMBALAYA
Delicious, spicey, chickeny, sausagey, shrimpy, tomato-y. Yum. I haven't ever attempted to make this but now I'm thinking it should... why not right? Worst thing that can happen is you screw it up. Beck's Cajun Cafe has some of the most interesting stuff listed on their menu - Alligator hotdogs would be the coolest sounding. I didn't indulge because we were headed out to dinner that night but I'd like to try that some day... after a few cocktails anyways.
Ah - I did get me a good cheesesteak - not the best (since I was at the airport) but I did have one. :-) You can be jealous now.